App-to-App
Overview
The Moneris Go solution offers three unique integration methods to suit your specific setup. Each method delivers the same core payment processing capabilities. It is important to note that you are not locked into an integration method and you can choose a different method at any point. The right integration choice depends on your existing infrastructure and how easily it can integrate with Moneris Go. This section will go through all the integration methods so you can make an informed decision on which integration method to use.
App-to-App
The app-to-app integration allows your Android-based POS system to run directly on your Moneris Go device. This integration method delivers an all-in-one transaction experience without requiring additional POS hardware. It is ideal for mobile-first and cloud-native applications seeking a highly customizable UI and tight control over the user experience, while reducing hardware footprint. This integration method requires an Android application to be uploaded on the app store for Moneris Go devices.
Configuring device to App-to-App Mode
Configuring your device to App-to-App requires you to upload your application to the Pax or Ingenico Store depending on the device you have. This makes your application available for download on your Moneris Go device. For a full list of steps required, visit the How to upload your application for App-to-app integration page.
Integrating App-to-app method
Additional setup steps are required in order to integrate the Moneris app-to-app solution. Below is the additional information needed to get your solution up and running.
Configuring firewall access
In order to allow for the device to communicate with third-party applications, the IP addresses of those applications must be whitelisted on Moneris’s side. Third party applications may include inventory management or loyalty program systems. To proceed, contact your client consultant and provide the IP addresses that need to be whitelisted.
Understanding payment flow
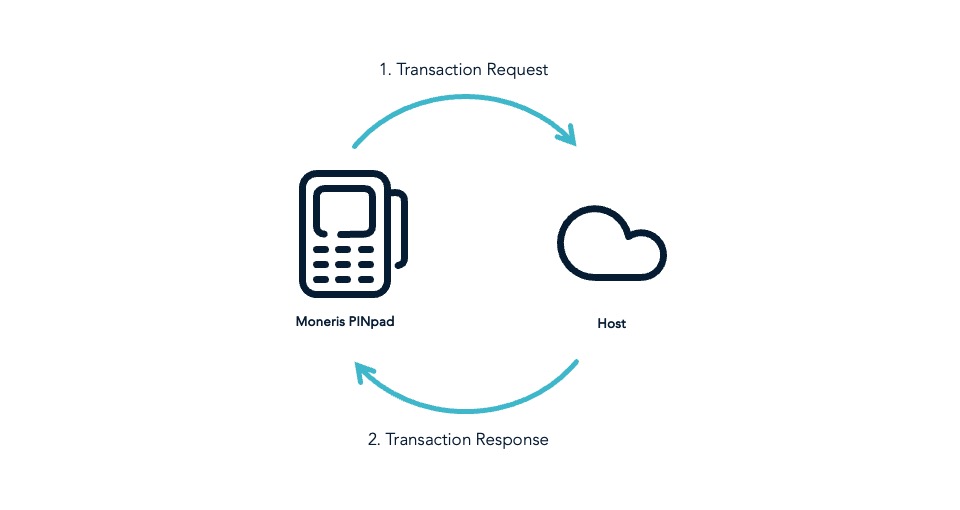
Your application will interact with the Moneris Payment App using the Activity class. The Activity class has the startActivityForResult activity, which when invoked will trigger the Moneris Payment App to take over and start processing the payment. Once the transaction is processed the results are sent back using the onActivityResult activity. The Moneris Payment App which your application will be interacting with handles both requests and responses in JSON format. The type of functionality that your request makes is dependent on the "action" value that you send in the JSON object. To view the full list of available requests, visit the API spec.
{
  "apiVersion": "3.0",
  "istConfigCode": "C123456SI",
  "dataId": "1745593236886-001",
  "dataTimestamp": "2025-04-25 11:00:36",
  "data": {
"request": [
    {
          "idempotencyKey": "2cfe6204-1407-4a87-a644-cad0f80c5851",
          "terminalId": "A4000007",
          "action": "purchase",
          "totalAmount": "100"
    }
      ]
   }
}
Sample code for sending a request:
The JSON object is the msgRequest parameter in the code example here. If you plan to use this function in your application, be sure to stringify the object before passing it to the function, as this function expects a String.
The package name will be different depending on the environment you are in.
- com.moneris.payment.cert for Testing environment.
- com.moneris.payment for Production environment.
public void dispatchCommand(String msgRequest) {

   try {

      Intent paymentIntent = new Intent();
      paymentIntent.putExtra("request", msgRequest);
      paymentIntent.setClassName("com.moneris.payment.cert",
      "com.moneris.interact.InterActHandler");

      startActivityForResult(paymentIntent, 123);
   } catch (Exception ex) {
      ex. printStackTrace();

   }

}
Sample code for receiving the response:
The response is located in the data parameter in the code example below. If you plan to use this function in your application, be sure to call the getStringExtra("receipt") function on your data to get the response from the Intent.
protected void onActivityResult(int requestCode, int resultCode, Intent data) {

   super.onActivityResult(requestCode, resultCode, data);

   try {

      String response;

      response = data.getStringExtra("receipt");

   } catch (Exception ex) {

      ex.printStackTrace();

   }

}
Sample response object
{
   "apiVersion": "3.0",
   "statusCode": "example_statusCode",
   "status": "example_status",
   "dataId": "example_dataId",
   "dataTimestamp": "1969-12-31 23:59:59",
   "data": {
      "response": [
         {
            "orderId": "example_orderId",
            "transactionId": "example_transactionId",
            "statusCode": "example_statusCode",
            "status": "example_status",
            "idempotencyKey": "example_idempotencyKey",
            "completed": "true",
            "responseCode": "example_responseCode",
            "iso": "example_iso",
            "approvedAmount": "1300",
            "tenderType": "example_tenderType",
            "cardType": "example_cardType",
            "sequenceNum": "example_sequenceNum",
            "realTimeUniqueId": "example_realTimeUniqueId",
            "authCode": "example_authCode",
            "formFactor": "example_formFactor",
            "maskedPan": "example_maskedPan",
            "action": "purchase",
            "receipt": "example_receipt",
            "receiptChoice": "PRINT"
         }
      ]
   }
}
Sample error
If there is an issue with the transaction, an error response will be sent detailing the type of error.
{
   "apiVersion": "3.0",
   "statusCode":   "example_statusCode",
   "status": "example_status",
   "dataId": "example_dataId",
   "dataTimestamp": "1969-12-31 23:59:59",
   "data": {
      "response": [
         {
            "idempotencyKey": "example_idempotencyKey",
            "orderId": "example_orderId",
            "statusCode": "example_statusCode",
            "status": "example_status",
            "linkId": "example_linkId",
            "errorDetails": [
               {
                  "errorCode": "example_errorCode",
                  "parameter": "example_parameter",
                  "value": "example_value",
                  "issue": "example_issue",
               }
            ]
            "completed": "true"
         }
      ]
   }
}
Updated 2 months ago